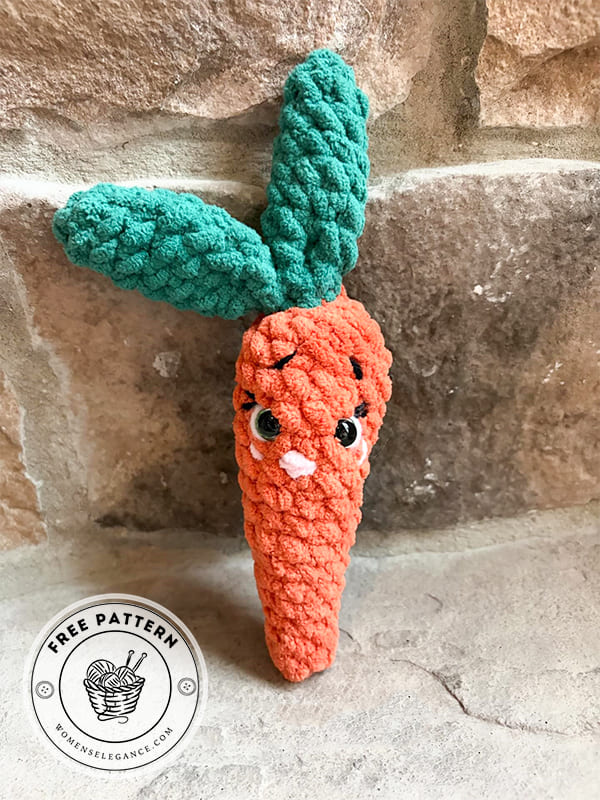
Looking for a fun and quick project? A crochet carrot plushie pattern is a perfect little make, especially if you enjoy cute amigurumi and beginner-friendly designs. This tiny veggie is not only adorable but also a great way to practice basic stitches while creating something playful for your crochet collection.
Plushie crochet carrot free pattern
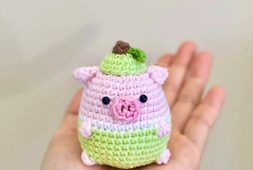
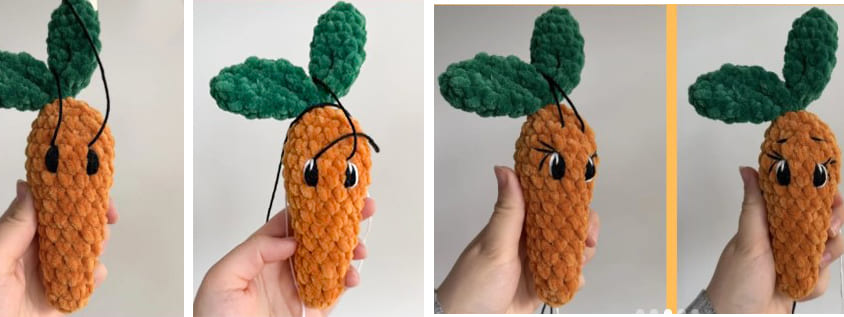
A simple crochet carrot free pattern usually works up quickly with just a small amount of orange and green yarn. Most patterns start from the carrot tip and gradually increase to form the classic cone shape. Once the body is finished, a few leafy strands are added on top to give the carrot its fresh garden look. The result is a soft, squishy plushie that can be used as a toy, decoration, or even a keychain.
Projects like this are part of the growing trend of crochet veggies free pattern designs. Crocheters love making small fruits and vegetables because they are fast, beginner-friendly, and perfect for using leftover yarn. A crochet carrot plushie can also be a cute addition to play kitchens, Easter decorations, or handmade gift baskets.
Whether you’re new to amigurumi or just want a relaxing weekend project, this crochet carrot plushie pattern is a delightful option. It’s simple, charming, and a great reminder that even the smallest crochet creations can bring a lot of joy.
Designer: emmas.handcraft
Materials for plushie carrot:
• Green and orange chenille yarn
• Black, white and pink cotton yarn
• Crochet hook size 6mm
• Yarn needle
• Scissors
• Polyester fiberfill stuffing
• Stitch marker
Abbreviations:
MR- magic ring
sc- single crochet
inc- increase
dec- decrease
st- stitch
R- row
Carrot
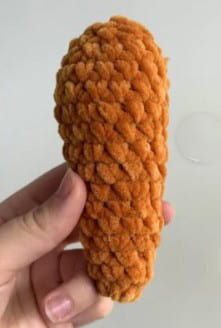
With orange chenille yarn:
R1. 6 sc in MR (6)
R2-R3. sc in all sts (6) – 2 rounds.
R4. *1sc,1inc* repeat 3 times (9)
R5-R6. sc in all sts (9) – 2 rounds.
R7. *2sc,1inc* repeat 3 times (12)
R8-R9. sc in all sts (12) – 2 rounds.
R10. *3 sc,1inc* repeat 3 times (15)
R11-R14. sc in all sts (15) – 4 rounds.
R15. *3sc,1dec* repeat 3 times (12)
Start to stuff.
R16. *2sc,1dec* repeat 3 times (9)
R17. *1sc,1dec* repeat 3 times (6)
Fasten off and leave a yarn tail for sewing the gap together. Weave in yarn tail.
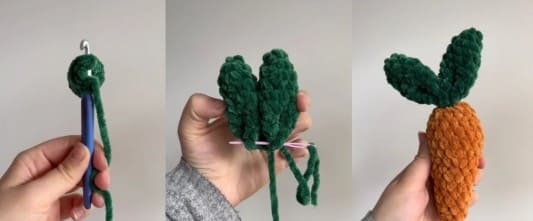
Ears – make 2
With green chenille yarn:
R1. 4 sc in MR (4)
R2. *1sc,1inc* repeat 2 times (6)
R3. *2sc,1inc* repeat 2 times (8)
R4-R8. sc in all sts (8) – 5 rounds.
Fold and crochet 1 sc through all 4 layers.
Crochet 2 sc in total.
Make one more ear and then sew them together at the bottom like picture shows. Sew the ears on the top of the carrot between R16-R17.
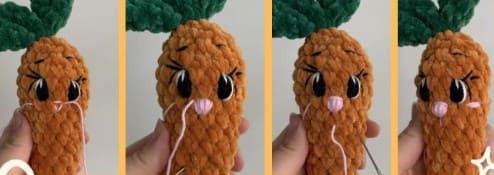
Eyes
Start with black cotton yarn.
Over R12 and R13 with 2 sc apart, make 7-10 stitches.
Then with white cotton yarn, embroider 2 stitches on the outside of the eye and with a half stitch in the black.
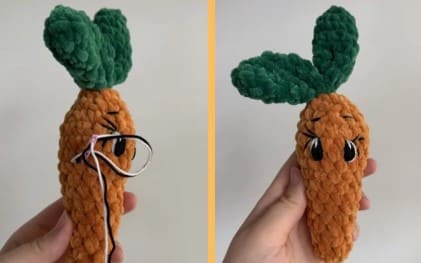
With black yarn, make one stitch going 1 sc diagonally out from the eye, then embroider 2 stitches above to create the eyelashes.
Go up 2 rows and make a smal stitch to shape the eyebrow.
Nose and cheeks
Sew a triangle over R11 with pink yarn.
Make stitches until you filled your triangle with yarn.
Sew 1-2 stitches on the top of the triangle.
Make 1 stitch from the bottom of the triangle going down 1-2 rows.
Sew the cheeks with 3 stitches just under the eyes.
Fasten off
This is how I fasten of the yarn tails while embroider.
1. Finish your embroider and pull out the yarn a few rows away.
2. Tie a knot.
3. Take your needle and pull the yarn tails out on a different place.
4. Cut.
admin
Recommended To You