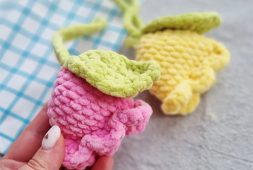
If you love soft, squishy plush designs, this Crochet Jellycat Inspired Egg is a fun and cozy project to add to your list. Designed with a fluffy white outer shape and a textured yellow center, this crochet egg pattern captures that irresistibly cuddly look everyone adores. The addition of tiny red legs gives it a playful personality, while the subtle shaping even hints at a crochet heart pattern style silhouette.
This beginner-friendly crochet egg pattern works beautifully with plush or chenille yarn for that extra soft finish. The construction is simple: two rounded panels joined together, lightly stuffed, and finished with sweet embroidered details. If you already enjoy making a crochet heart pattern, you’ll notice the curved increases and decreases feel very familiar and easy to manage.
Perfect as a handmade gift, nursery decoration, or desk companion, this Crochet Jellycat Inspired Egg adds warmth and character wherever it sits. Whether you’re expanding your plush collection or looking for a playful twist on a classic crochet heart pattern, this charming design is a cheerful and satisfying make from start to finish.
A Fun and Beginner-Friendly Amigurumi Project
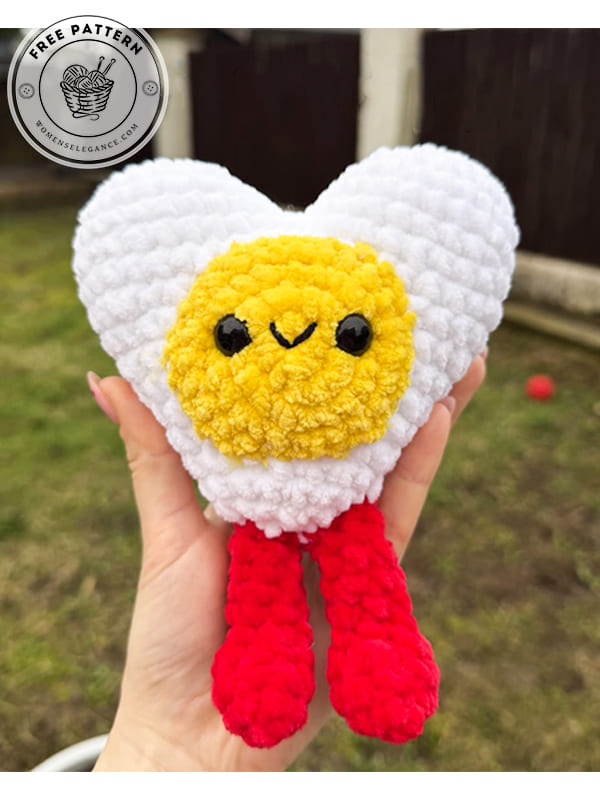
Meet Sunny Pop Eggie, the happiest little egg you’ll ever crochet. With its soft white shell, fluffy yellow center, and bright red dangling legs, this adorable amigurumi design is perfect for anyone who loves playful handmade toys. The simple shapes make it beginner-friendly, while the bold color contrast gives it plenty of personality.
This free amigurumi egg crochet pattern works up quickly using plush yarn, making it a great weekend project. It’s ideal as a desk buddy, a child’s soft toy, or even a quirky kitchen-themed decoration. The rounded egg shape is easy to assemble, and the expressive face adds charm without complicated detailing.
Designer: chonkiescrochet
For the heart, we are going to start by making the two “domes” on top.
Heart (make 2 domes(R1-5)
In white.
R1. sc 8 in the magic circle (8)
R2. (inc)x8 (16)
R3. (sc1,inc)x8 (24)
R4-5. sc around (24)
Fasten off one dome. Do not fasten off the second dome – join R5 each dome with a slip stitch.
R6-7. sc around both domes (48)
R8. (sc4,dec)x8 (40)
Stuff as you go.
R9. sc around (40)
R10. (sc3,dec)x8 (32)
R11. sc around (32)
R12. (sc2,dec)x8 (24)
R13. sc around (24)
R14. (sc1,dec)x8 (16)
R15. sc around (16)
R16. (dec)x8 (8)
R17. sc around (8)
R18. (dec)x4 (4)
Close the hole, fasten off and weave in ends.
For the yolk
In yellow:
R1. sc 8 in the magic circle (8)
R2. (inc)x8 (16)
R3. (sc1,inc)x8 (24)
R4. sc around (24)
Add safety eyes between rows 2-3.
Embroider mouth between eyes.
Sew yolk on front of heart. The top of the yolk should sit – row 8 of the heart.
For the legs (make 2)
In red:
R1. sc 6 in tje magic circle (6)
R2. (sc1,inc)x3 (9)
R3. sc around (9)
R4. (dec)x3, sc 3 (6)
R5-9. sc around (6) for 5 rows.
Stuff lightly.
Sew the legs to the bottom of your leg.
admin
Recommended To You